Fiber Reactive dyes are used for natural fibers such as cotton, silk, wool, hemp, and bamboo. Fiber Reactive dyes will not dye synthetics such as polyester. For example if you have a shirt you want to dye, and the thread stitching it together is polyester than the thread will not dye, which may be used to your advantage so keep this in mind when choosing your colour.

This shirt was originally white with pink stitching, the embroidery wasn’t affected by the dye producing a beautiful result.
As the name suggests, the dye reacts with the fibers rather than simply coating the material, making the final outcome colour-fast and vibrant.
Tools

Natural fabric of choice
Fiber Reactive Dye (I am using Dharma Fiber Reactive Procion Dyes)
Soda Ash
Non-Iodized Salt (as it's a fair bit of salt, I buy mine at Bulk Barn)
Urea (optional)
Bucket/tub
Rubber gloves
Face mask (when measuring powder)
Old clothes
Measuring utensils (not to be used for food afterwards)
You can find the chemicals online, which gets a bit expensive with shipping. If you know a place in Winnipeg to get them be sure to let me know!
Recipe
The recipe is dependent on how much (weight) of fabric you are dying. Increase recipe in proportion to the weight of your recipe (double for 1 lb, etc).
1/2 lb fabric
1/2 Tbsp dye (may need to be doubled, depending on colour)
1 1/2 g water (5.68L or 24 cups)
1 1/2 cup non-iodized salt
1/6 cup soda ash (2 Tbsp + 2 tsp)
1 Tbsp Urea (optional)
Note on Safety
Fiber Reactive dyes are non-toxic. However it is recommended to wear a mask when mixing the dye as it is a fine powder and should not be inhaled.
Common sense will go a long way to making sure you are safe when dying fabric. Wear old clothing you wouldn't mind getting a splash or two of dye on. Wear rubber gloves to avoid dying your skin. Use separate utensils than those you cook/eat with.
Get Ready to Dye!

Weigh your fabric before prewashing. You will need this information when determining how much of everything to comprise your dye bath. I find a kitchen scale works best.

Use hot water in your cycle. There are different recommendations as to how much Synthrapol/Textile Detergent to use. This ranges from 1/4 cup per machine load (1/8 cup for front loading). This is overkill if you are just dying one or two garments. Others recommend 1/2 tsp per 1 lb of fabric.
Personally I don't measure. I eyeball what seems like 1 tsp of Dharma's Textile Detergent. I use totally natural laundry soaps in my regular laundry, so this suds quite a lot more than what I'm used to. I don't want my final outcome to be splotchy so I do compromise and use the Textile Detergent which isn't as natural as I would like, but it is more eco-friendly than Synthrapol.
(It's recommended to have your fabric still wet when adding it to the dye bath, but I've done it both ways without much difference. But I was that was a piece that could be a bit splotchy and not matter.)
...and Action!
Now it's time to make some colour!


Fill bucket/tub with measured water.

Dissolve dye into some warm water in a separate container. Some powders mix into water a lot better when done with a minimal amount of water first, then slowly increasing the water content. This is one of them. At first, add just enough to make it a gravy consistency, then slowly add about a cups worth of warm* (think lukewarm) water.
*lesson learned: do not use hot water at this stage. As I found out during one batch that hot water will react differently to the dye and may cause it to become a different colour (like red becomes grey). Good thing you can dye the same fabric over again.*

Add Urea at this stage if using. Urea is optional, but it helps to dissolve the dye. Reds are often more difficult to dissolve and can leave "freckles". Add about 1 Tbsp in the 1 cup of warm water mentioned above.

Add the dissolved dye to the tub of water.

Add the measured salt to the tub and stir to dissolve.
...now the fun part...

Add the fabric to the dye bath.
Ohhhhh.....Ahhhhhhh. First hint of what is to come.
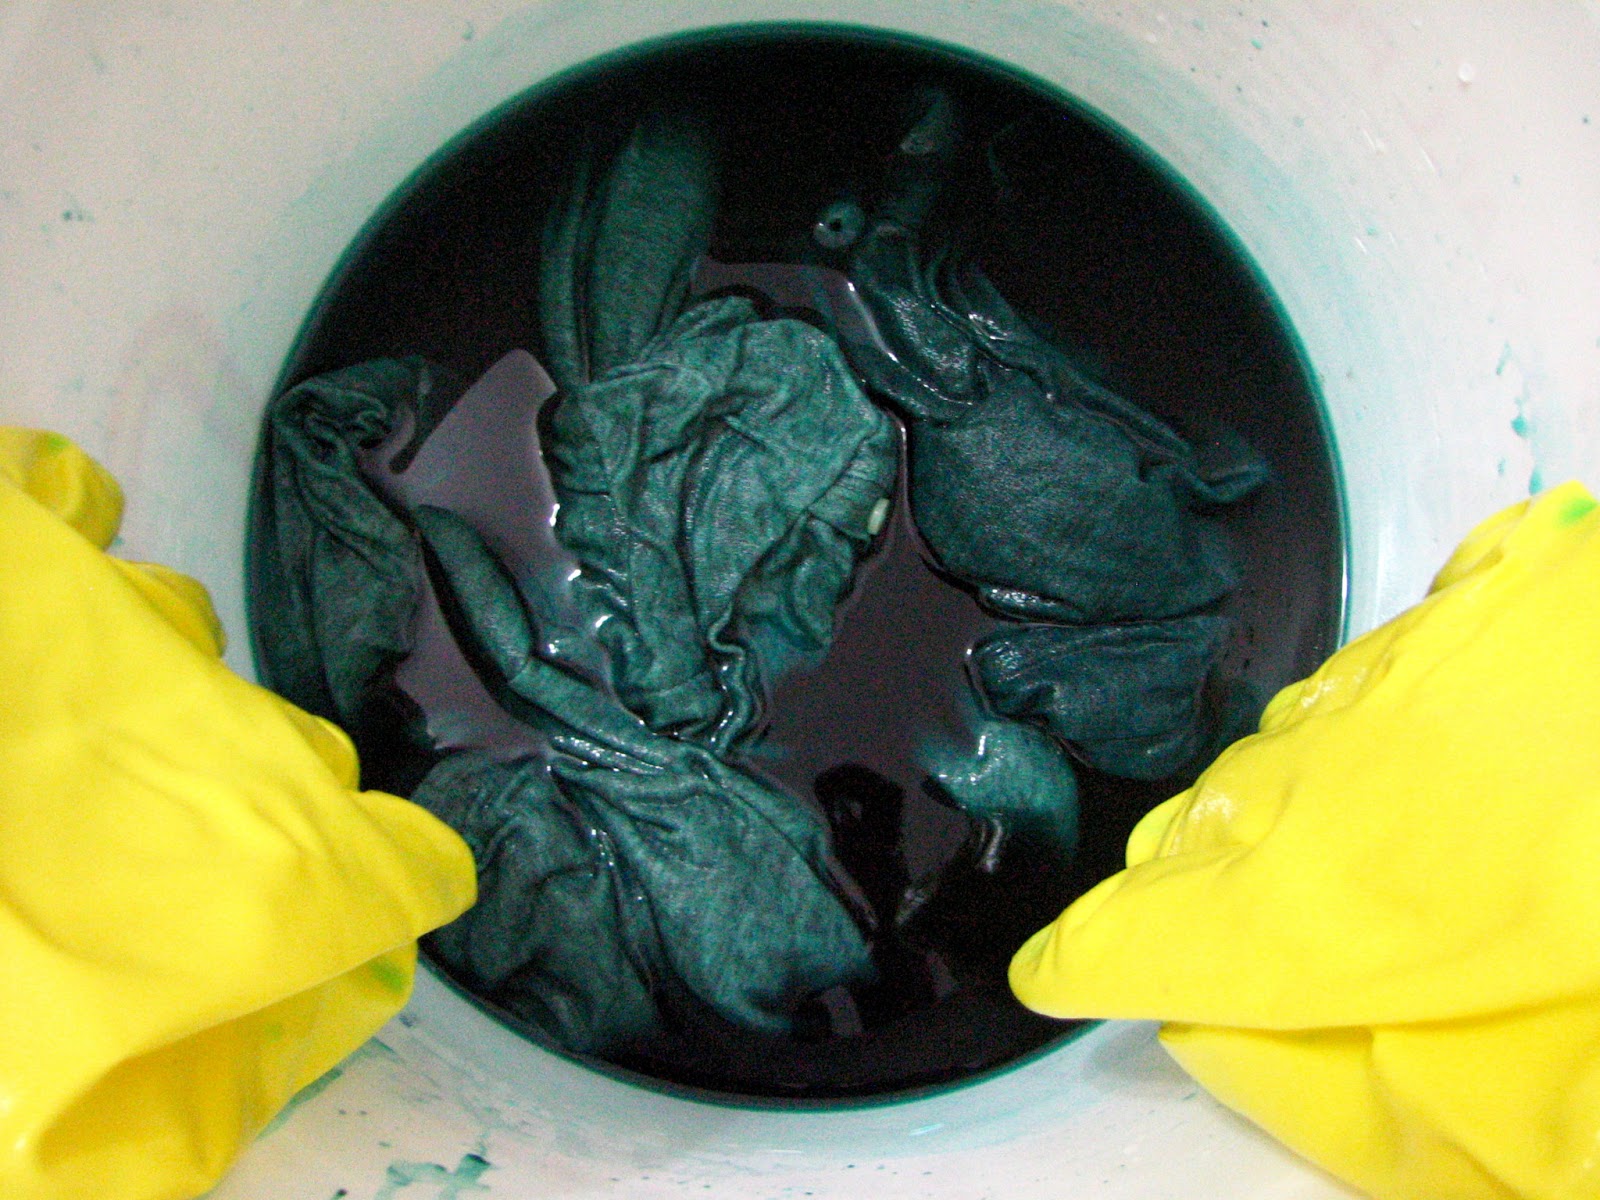
Stir the fabric gently for 20 min. The first time I dyed fabric I stirred constantly for 20 min. Really, this isn't necessary. But you can't really being doing a whole lot of other things during this time because you do need to make sure to stir the bath often.
I found the best way for "stirring" was just to use my rubber gloves and gently mix it with my hands.
*Dying in a washing machine can seem easier, but it only works when you have enough fabric to make a load. Simply increasing the water level will dilute your dye. I've tried dying in a machine and found it was actually easier to simply use a bucket after all. See note at bottom of post for more on this.*

In a separate container dissolve measured soda ash with warm water.

Slowly, over 15 minutes, add soda ash mixture to the dye bath while stirring. This is your dye fixative. Do not pour on the fabric or you will get blotches. I gently push the fabric to one side (or even lift it out of the water) then pour a bit of the mixture in, stir it in, then mix with the fabric. I can't say I've ever been able to stretch it out over 15 minutes, but I get close to 10.
Continue stirring as before for 30 min or up to 1 hour if you would like a deeper colour. This is the time when the colour gets fixed to the material (with the help of the soda ash) so the longer it sets, the deeper the colour.
Now for the work...
Personally this is the hardest part of dying...rinsing.


Rinse your fabric in cool water until it runs clear. Yes, this can take a long time. I rinse it for a while in the bath tub first to get rid of some of the dye, but really it never comes clear that way, just enough so that a bulk of the dye gets rinsed off. Then into the washing machine you go! And it takes a few cycles this way too before it becomes clear (which is why I like to rinse in the bath tub first as to not waste so much water).
Once the material rinses clear, one final wash cycle is necessary.
Use your Textile Detergent or Synthrapol once more for this load with hot water. This will wash off the final remnants of dye that didn't adhere to the fabric. Don't worry that you are rinsing away all your hard work. This is just the remaining dye, the fabric will only absorb so much. Believe me, you want to get it rinsed off now, rather than with your regular laundry. For some dark dyes you may want to repeat this step.
Lovely Colour!

Now your fabric is ready for wearing, sewing or whatever you had in mind!
*Note on Machine dying*
It is super tempting to think it will be easier to dye in a washing machine. It does the stirring for you after all. But I've found that it's not necessarily the case. I did try one load this way and from now on I'm going to stick to my bucket.
Keep in mind I don't dye that much fabric all at once. Using the washing machine would indeed be a good option if you have that much to dye the same colour. I don't.
It's simply a pain. Each machine is different, so maybe yours is more dye friendly, but...
Make sure your dye doesn't go down the drain! You will need to reset the machine's agitate cycle multiple times. When I tried this, the machine I had at the time didn't drain if the lid was up, but that does create a lot of splashes to clean up after. I also found it was as much babysitting as stirring a bucket every few minutes (plus I had to run down to the basement each time). You do still need to reach in and unwind your fabric occasionally too.
You must keep in mind the proportion of water to all the other ingredients. It's one thing to go and reset your machine multiple times, but I found that the amount of water I needed was less than the lowest level of water and my machine kept thinking I should have more! Simply filling your machine with the setting doesn't give you an accurate measure of water. If you know how much each level setting gives you this may not be an issue for you as you can calculate your ingredients accordingly.
No comments:
Post a Comment